Protect app Installation
Tip
Why Choose Our SharePoint and Teams Access Control Tool?
- Clear Access Reports: Instantly see who can access, edit, or share your files for total control.
- Bulk Edits: Save time by adjusting access settings across teams and folders quickly.
- Secure External Collaboration: Grant safe access to external users without compromising security.
Note
- Privacy First: Your Data Stays With You! No files or data are transferred or uploaded anywhere. All permission management is handled directly within SharePoint, ensuring full privacy and security.
- App must be installed by a SharePoint administrator!
1. Add Protect app from the App Catalog or AppSource
You can add the Protect app to your site directly through the App Catalog or AppSource link.
Option 1: From AppSource
- Visit the AppSource link.
- Click on "Get it now" to proceed with adding the Protect app to your environment.
Option 2: From the App Catalog
- Go to your App Catalog site:
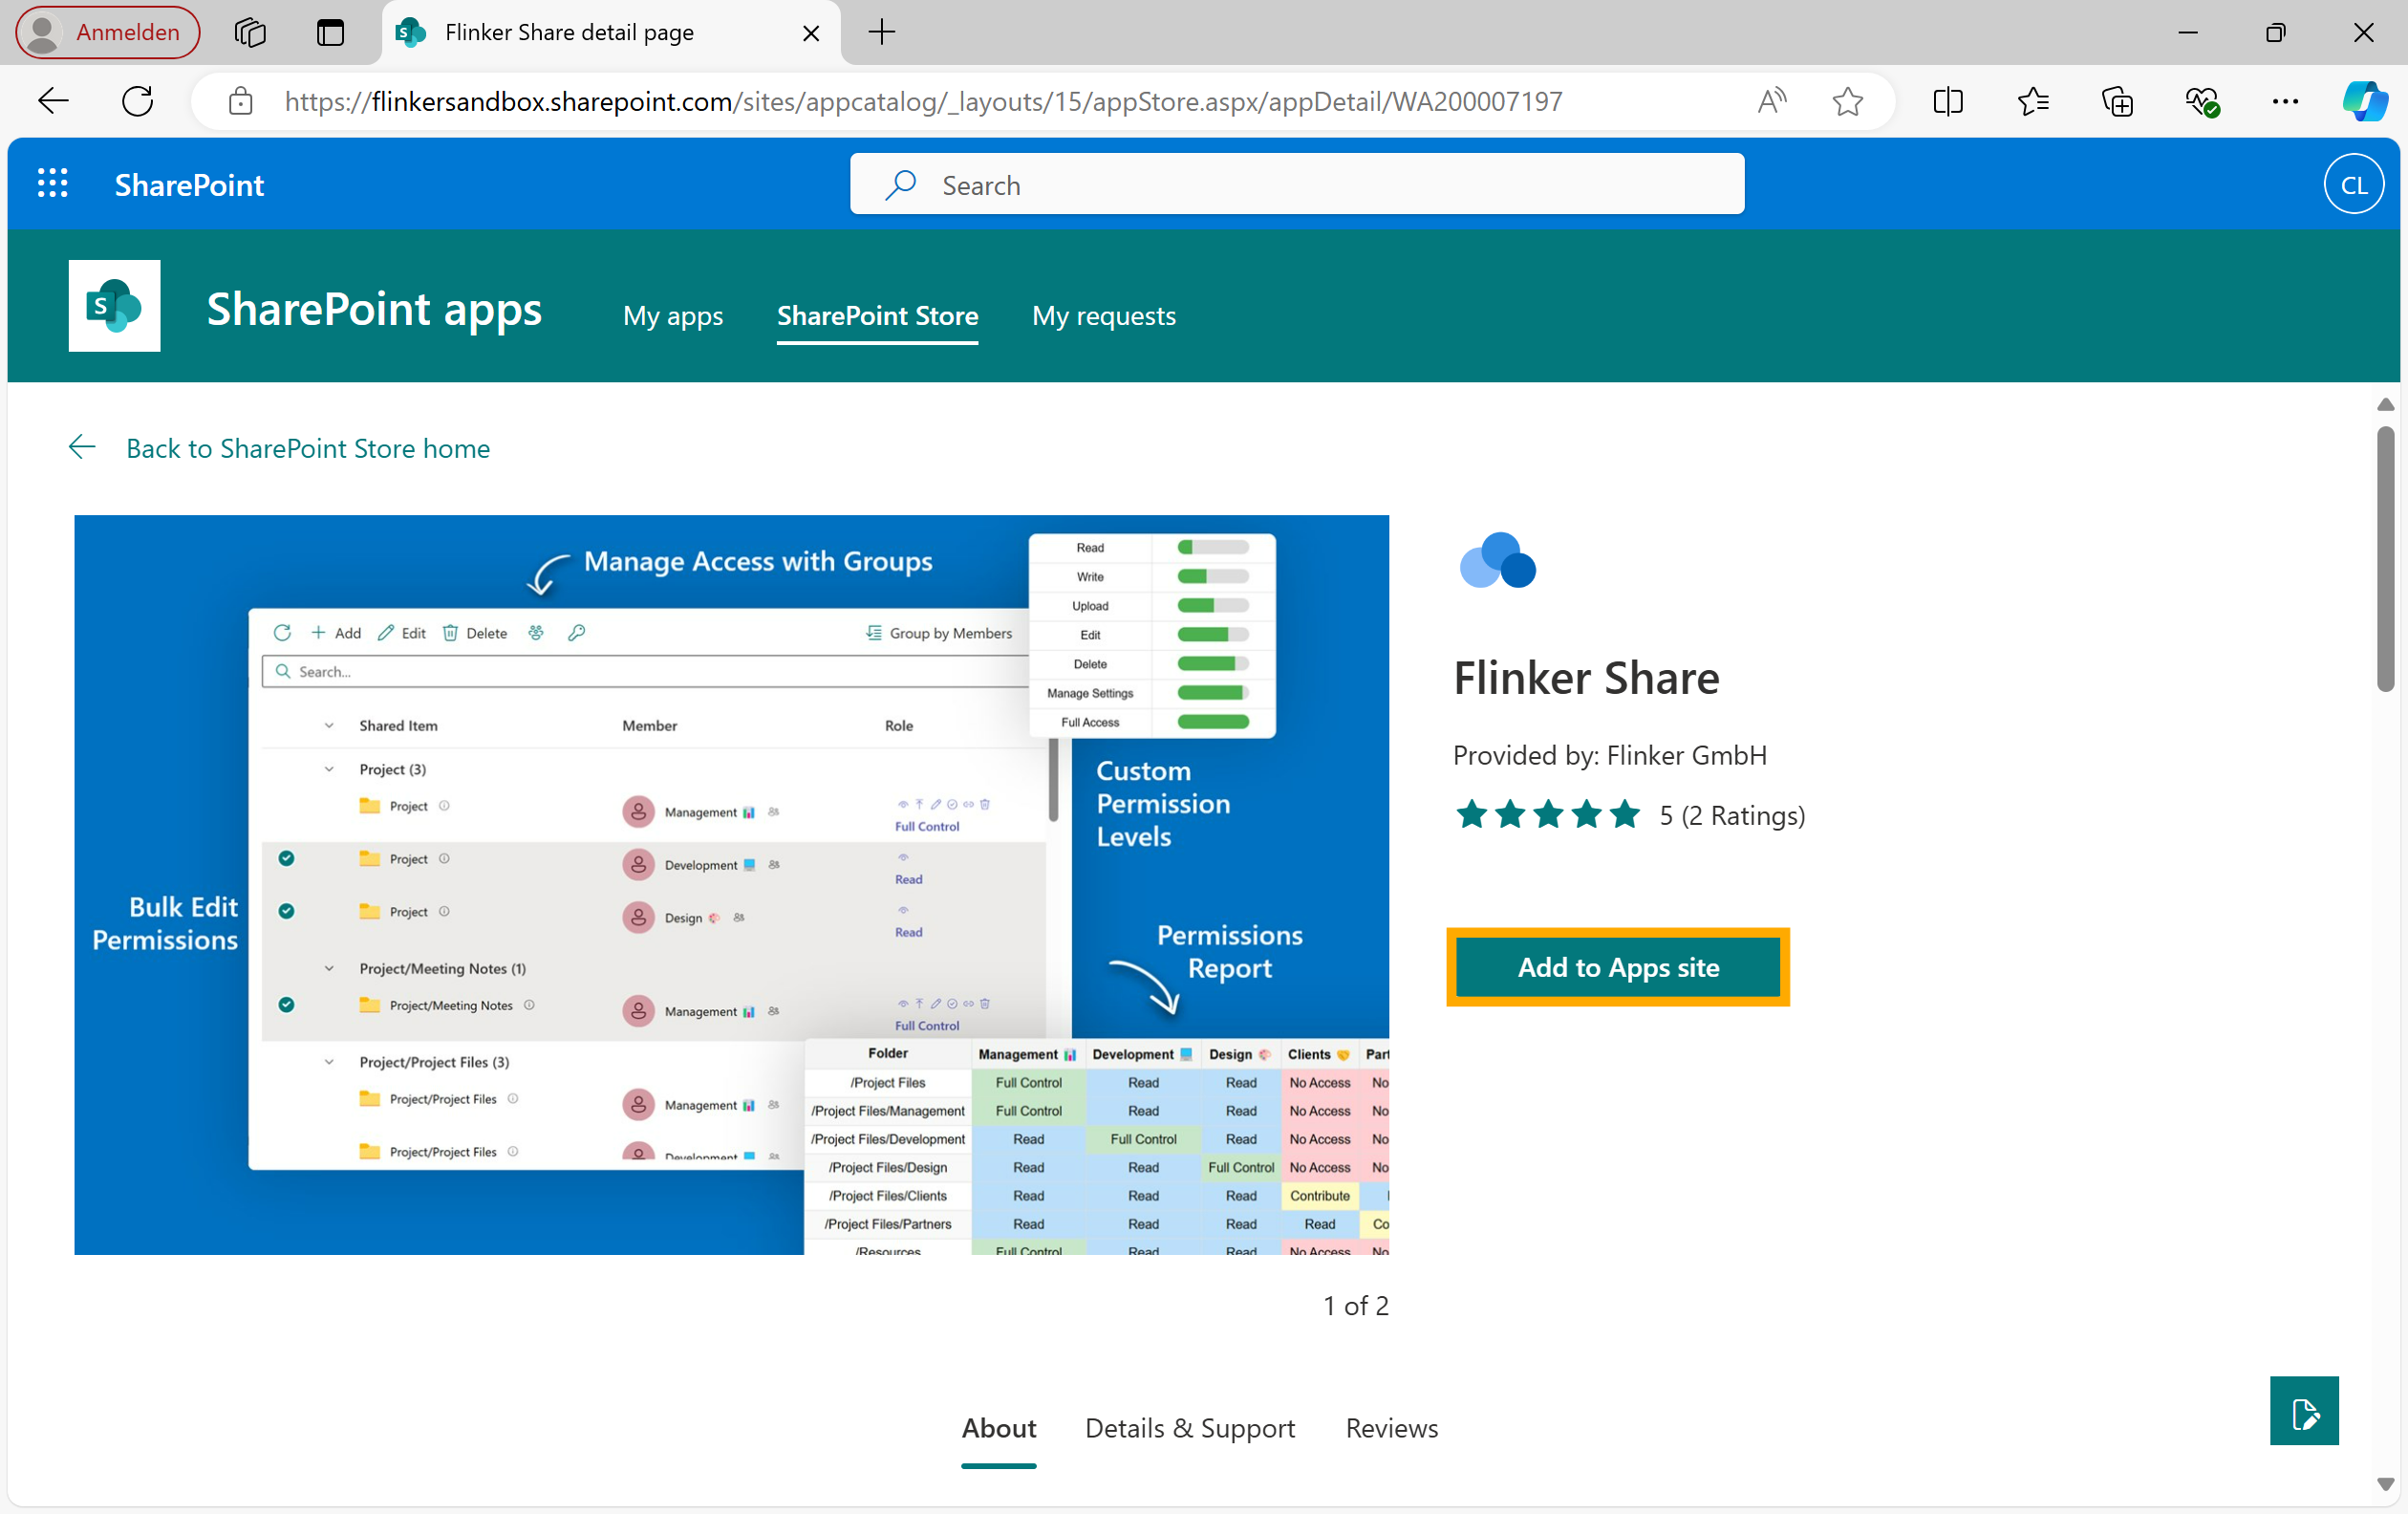
https://yourdomain.sharepoint.com/sites/appcatalog/_layouts/15/appStore.aspx/appDetail/WA200007197. Replaceyourdomainwith your specific domain.
2. Add the Protect app
- Click on "Add to Apps site" to start the installation process.

- Now you have two options:
- Click "Enable and Add" to both approve and add the app to all sites automatically.
- Click "Only Enable" to enable the app without adding it automatically.
If You Clicked "Only Enable"
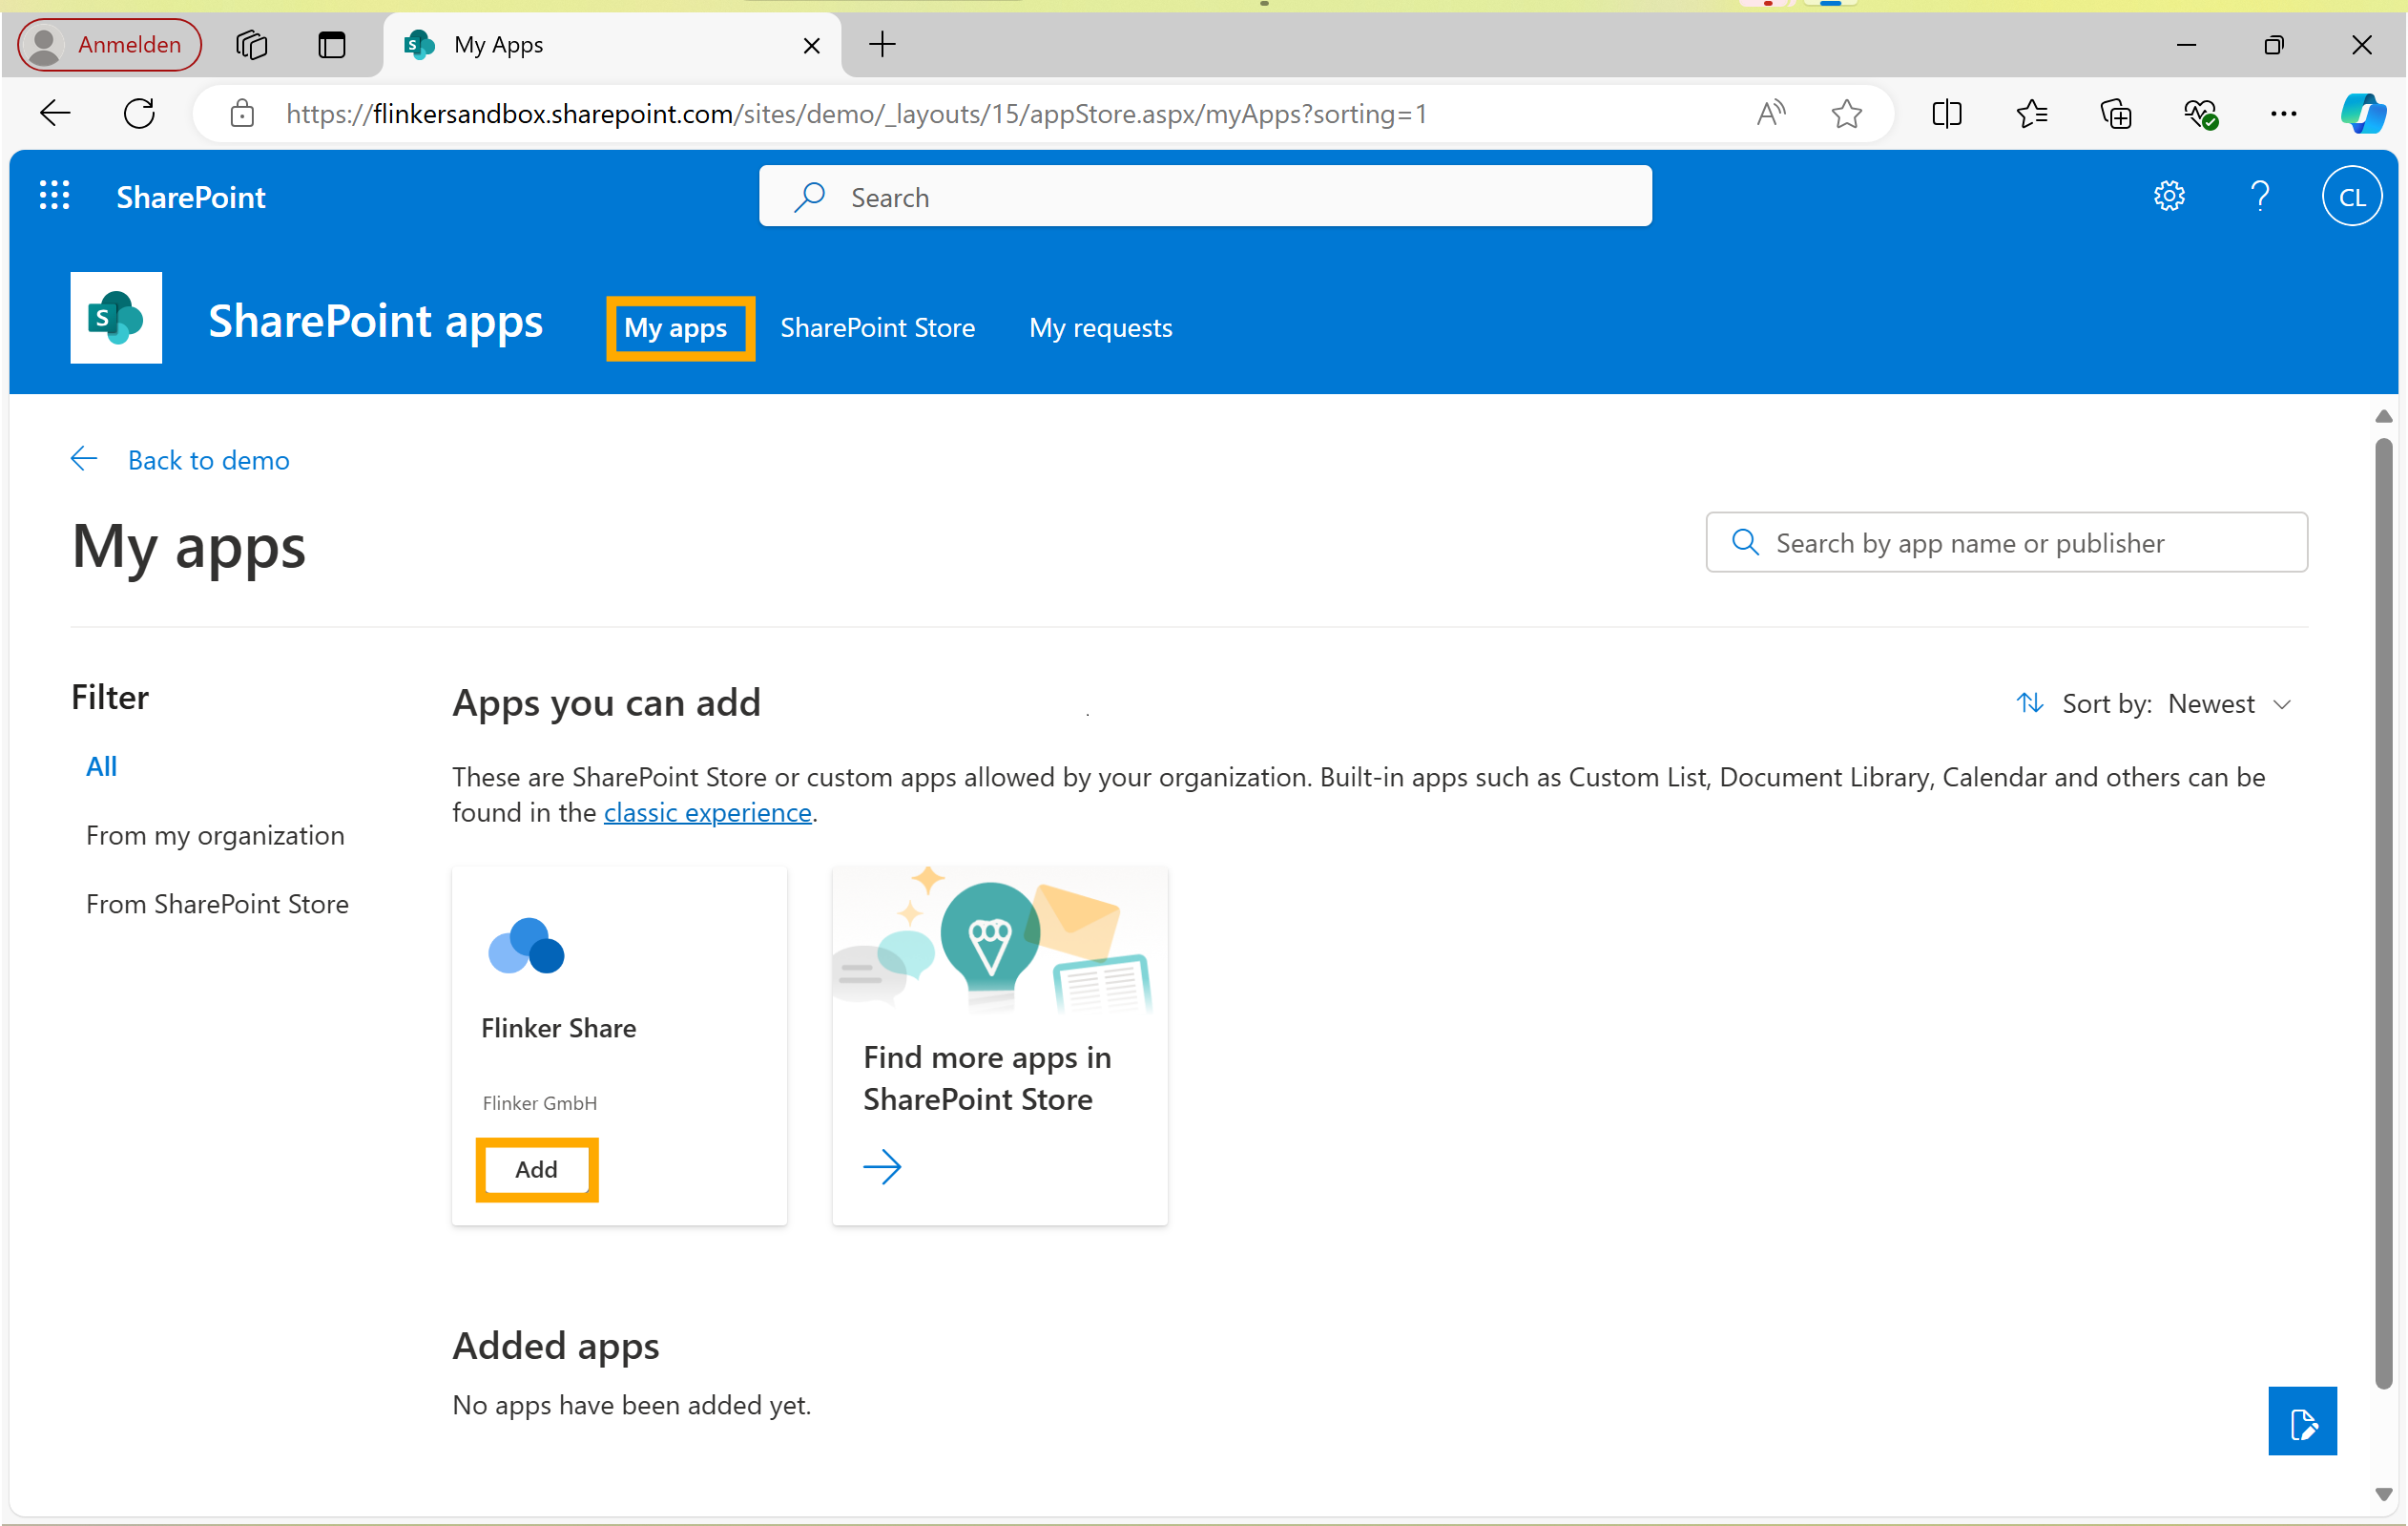
- The admin or site owner needs to manually add the app to a specifc site.
- Go to the site where you want to add the app.
- Navigate to "My apps" and select "Protect app".
- Click on "Add" to add the Protect app to the site.

3. Manage Permissions for the Protect app
- Navigate to the document library where your content is stored.
- Select the folder or file for which you want to manage permissions.
- Click on the three dots (...) next to the selected item to open the context menu.
- Choose Manage permissions from the dropdown menu.
- Adjust the permissions as needed for users or groups.