ISO 19650 permission setup
This guide helps administrators configure SharePoint and Microsoft Teams permissions from a permission template. The template is typically an Excel matrix that lists user groups, folder structure, and the required access level for each group.
Table of contents
Prerequisites
1.1 Create a SharePoint page
Create a new SharePoint page or use an existing SharePoint page in your organization.
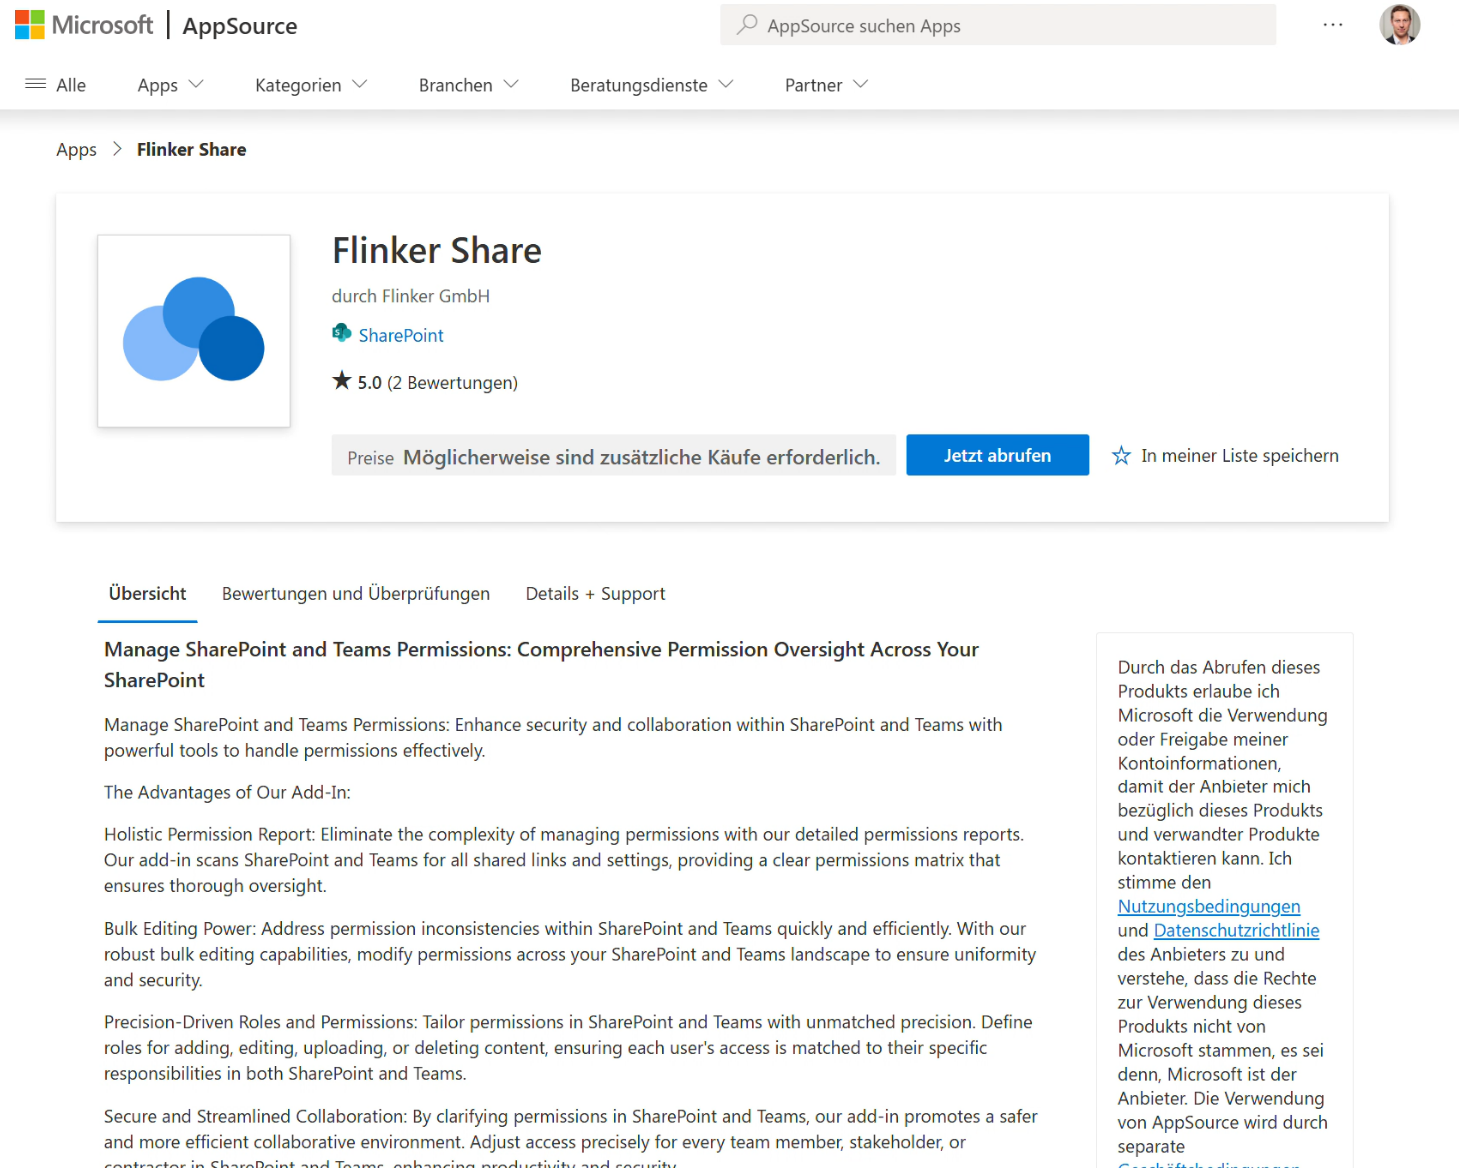
1.2 Install ISO 19650 on a SharePoint page
Install ISO 19650 from Microsoft AppSource.
Preparation
2.1 Create the folder structure
Create the required folders in the selected SharePoint site:

Add folders by selecting New folder:

If the SharePoint site is synced with OneDrive, you can also create the folder structure in File Explorer or Finder:

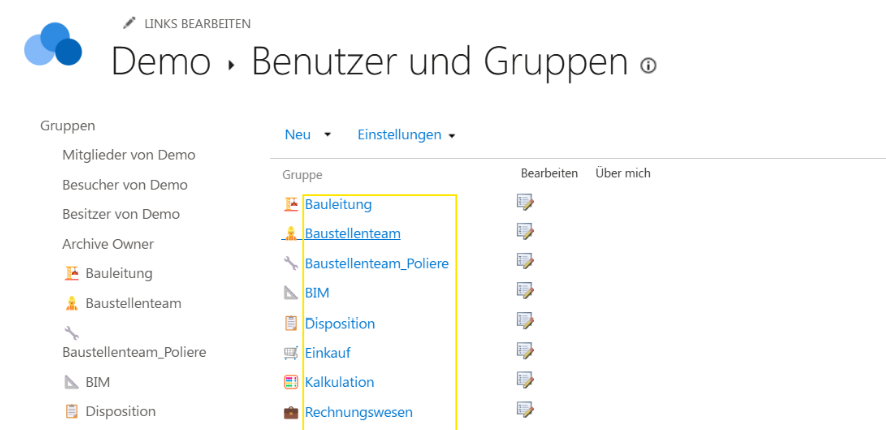
2.2 Create SharePoint permission groups
Create permission groups on SharePoint. Open ISO 19650 from any folder:
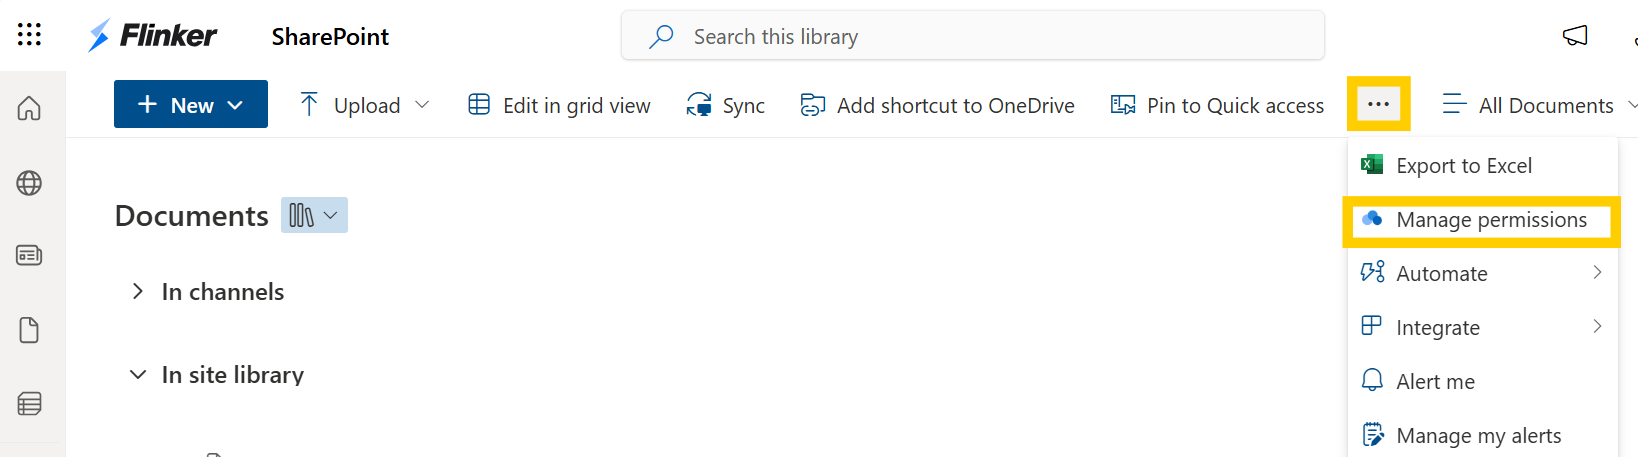
Select the Home icon in the upper-left corner:

Select the group icon:
![]()
Select New to create SharePoint user groups:
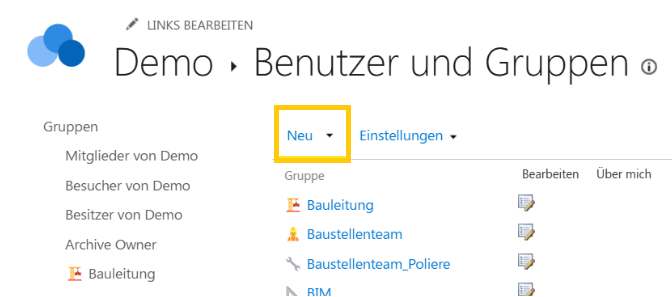
Note
If you also use Microsoft security groups, you can give SharePoint groups matching names to simplify administration.
Tips
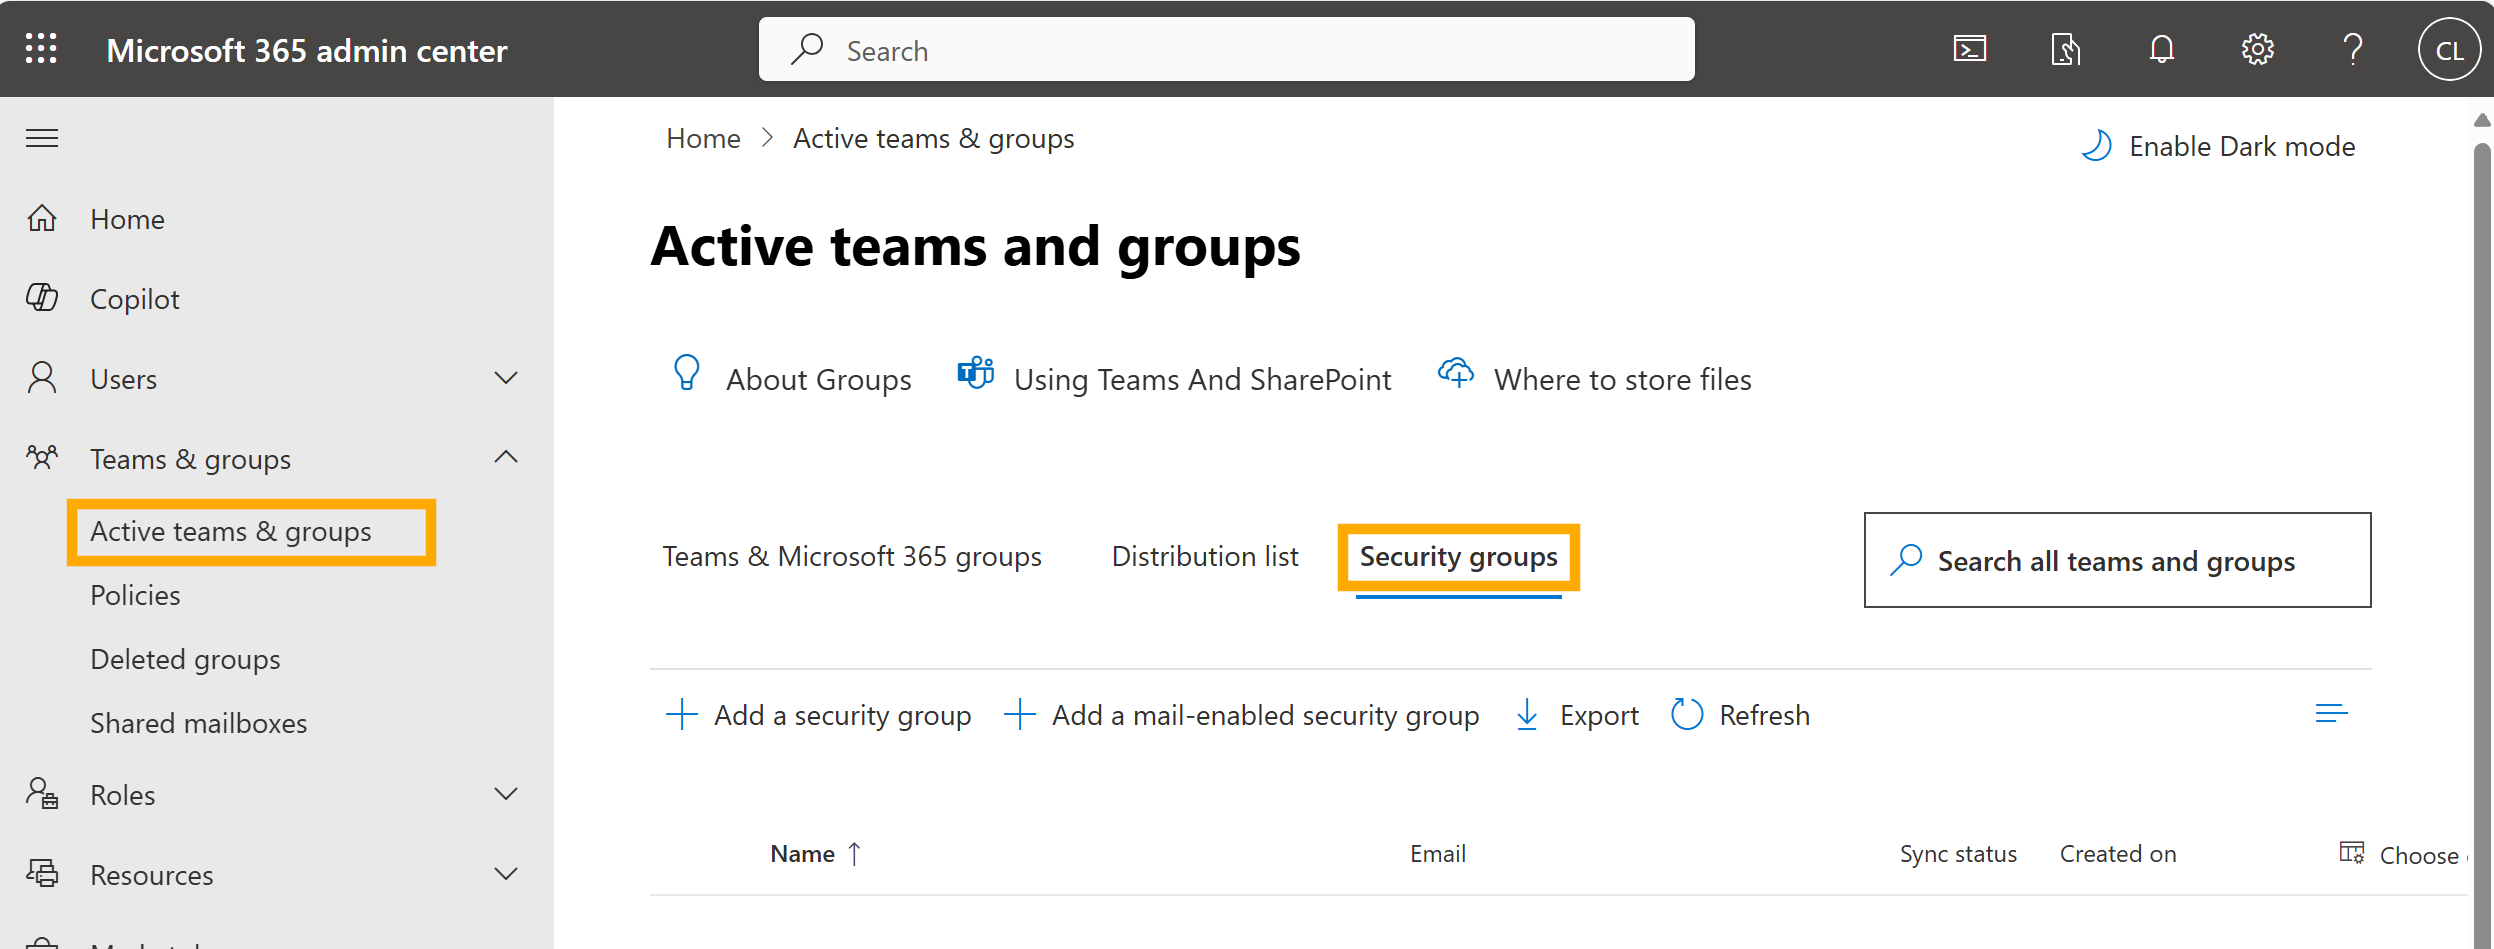
3.1 Create permission groups as security groups
For recurring project teams, create Microsoft security groups and reuse them across SharePoint groups. This reduces duplicate user management across projects.
Create permission groups as security groups. Go to Microsoft admin > active teams and groups > security groups:
3.2 Add security groups to SharePoint groups
Invite security groups to your SharePoint groups by selecting the SharePoint group name. Do not select the edit button.
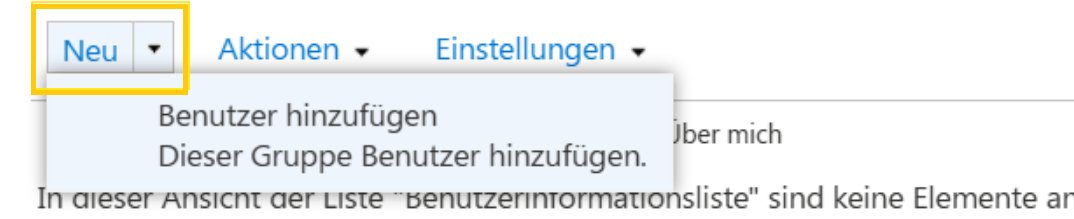
Select Add members:
Search for the Microsoft security group and press Enter:
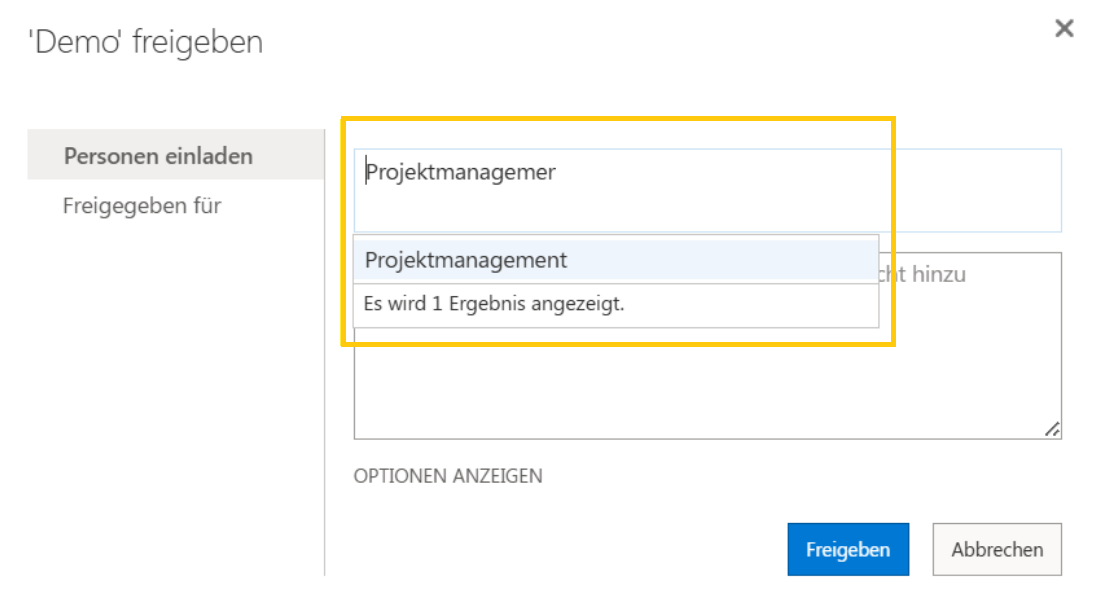
The security group is now linked to the SharePoint group.
Set permissions
4.1 Download the template file
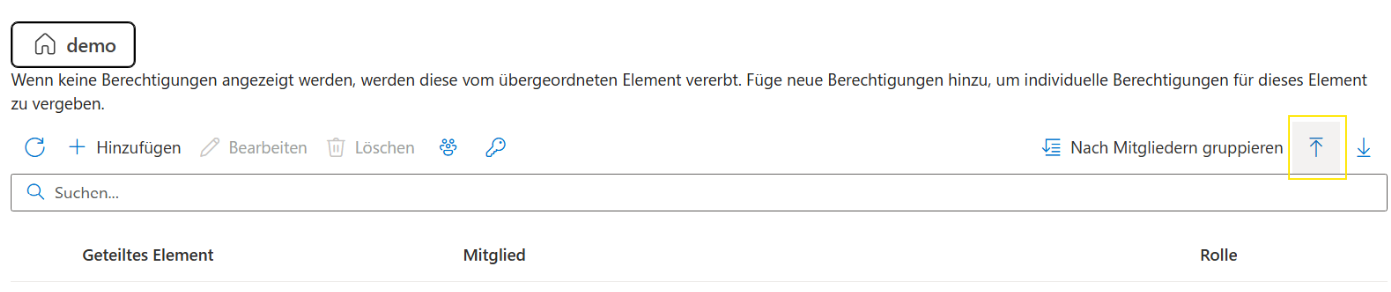
To download the template file, select the download icon in the upper-right corner of ISO 19650:

4.2 Set permissions in Excel
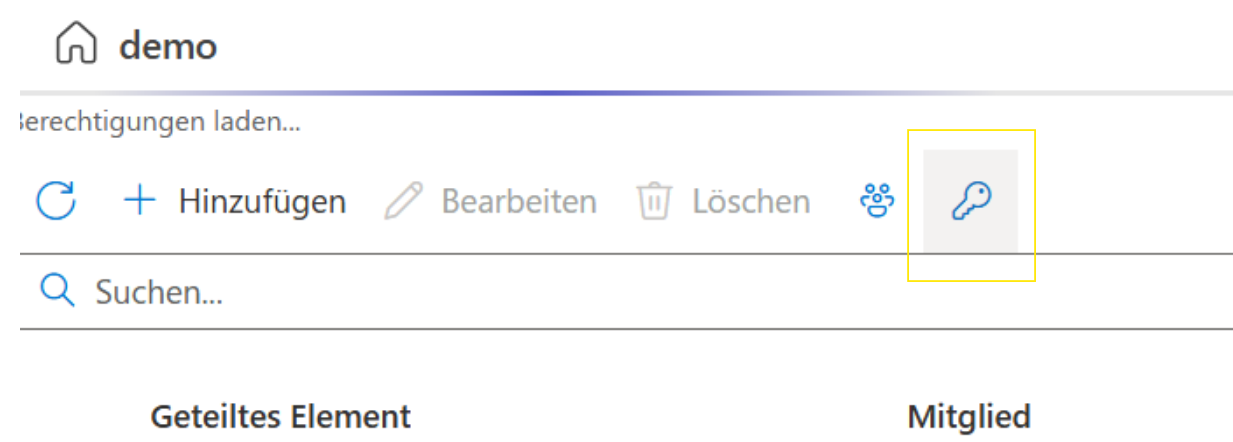
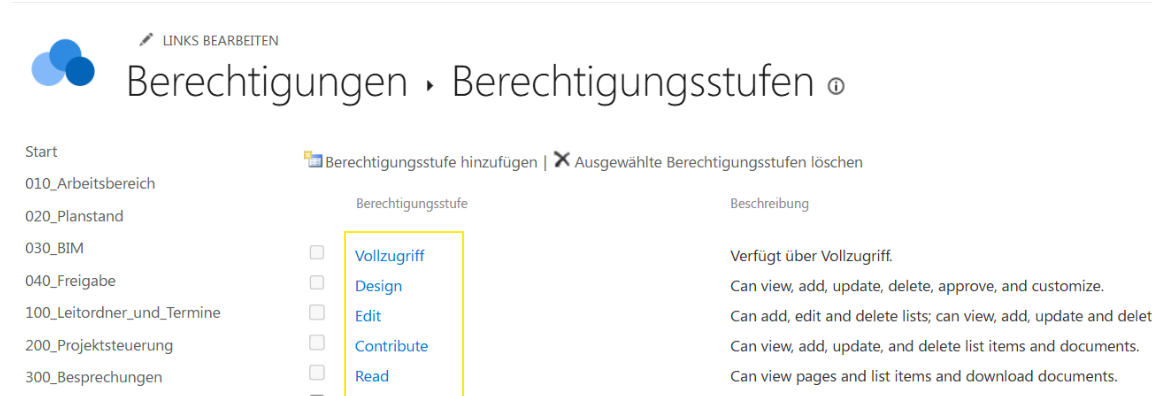
Set permissions or permission levels in Excel. The list of created permission groups can be found when you click on the key icon in ISO 19650:
Copy the authorization levels into the Excel cells in the template file. Match the values exactly to avoid import errors.
4.3 Upload the template file
Upload the template file to ISO 19650, review the preview and save it.
The permissions are now applied.
Frequently asked questions
Question 1: Can I use the template file for other SharePoint pages?
Yes. Use the template file to duplicate folder structures and access rights for other SharePoint sites.
Question 2: Do I have to create Microsoft security groups?
No. You can use SharePoint groups only. Microsoft security groups are useful when the same user groups are reused across multiple projects or sites.